
How to create a Tunnel on Linux.
You've created your first ZeroVPN virtual network and you now want to create tunnels for your network but you're not sure how to do so?
No problem, follow this guide and you'll understand how to so in no-time!
But, before starting, what is a tunnel in a ZeroVPN contest?
A ZeroVPN tunnel is an encrypted connection between the gateway and users, Sites or Hosts. Since the connection is encrypted, no one along the ZeroVPN tunnel is able to intercept, monitor or alter the traffic.
Currently only Linux servers and certain types of routers/firewalls specified within our documentation can be entered. From within a tunnel, local subnets can be added that the tunnel can reach directly. Within the subnets later you can register Hosts to which you must assign a single private /32 IP address. Remember: To forward an IP address or subnet through a tunnel, you must register them from the dashboard first.
Now that what a tunnel is, is more clear, we can start with our guide on how to create our Network Tunnels using Linux.
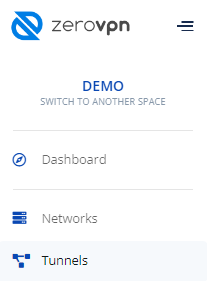
First of all you need to be logged-in in your ZeroVPN space, then from the menu on the left look for 'Tunnels' and when found, click on it.
This is how the Tunnels page looks like:
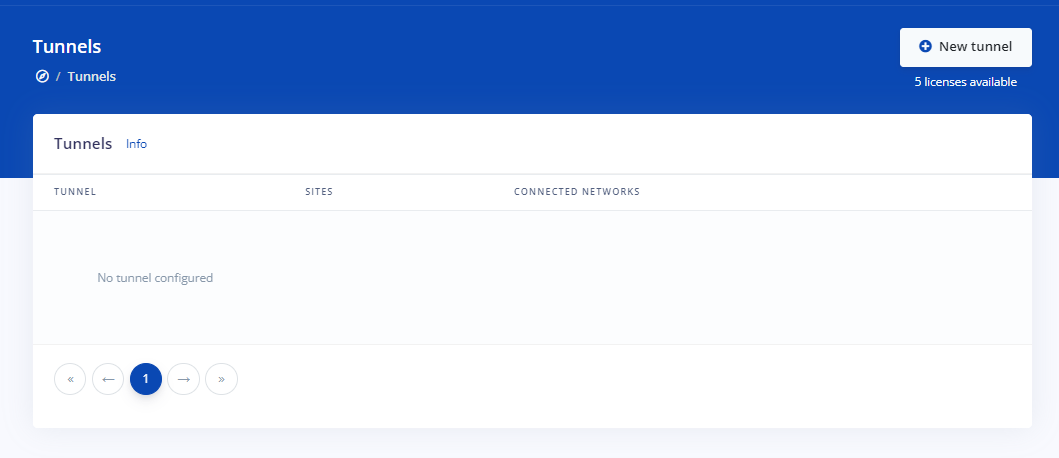
The tunnel list now looks empy becouse we have yet to create our first tunnel in this space, later, when new tunnels will be created, they all will appear in this page.
Now, to create a tunnel, click on the 'New tunnel' button on the top right corner of the page.
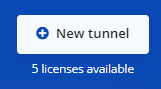
As you can see under the button we still have five tunnel licences available, which mean that at this moment we can create up to 5 tunnels.
By clicking on the 'New tunnel' button this is what will pop-up to us:
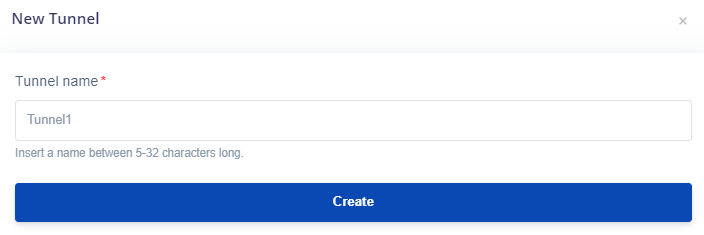
Here we have to set the name of our tunnel, that has to have a neme between 5 and 32 charachters, insert your desired name, then click on 'Create'.
We've now to configure it, and to do so we need to install the ZeroVPN Node Client.
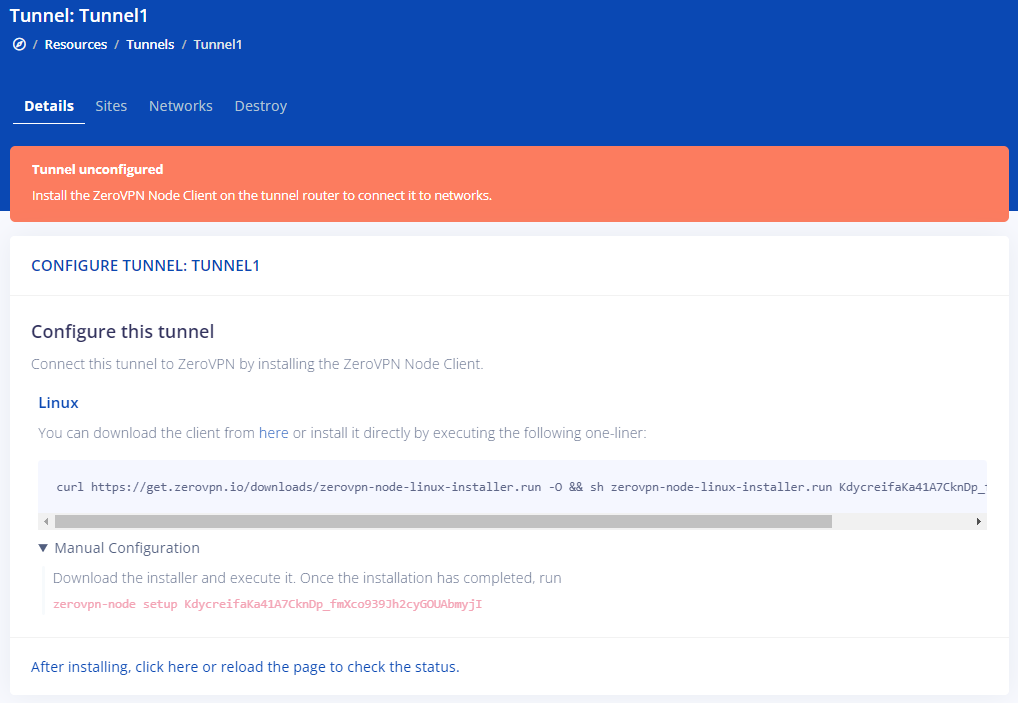
To do so we have to, remember, only on a linux machine, either click on the Here hyperlink under the Linux text(to manually download) or open our Linux terminal and paste in it the command written on that page(the one starting with curl, also note that the key at the end of the command is unique for every tunnel so it will change every time).
And it'll look like this:

Now the ZeroVPN Node Client is installed, meaning that a new Tunnel has been created.
If you look closely you'll notice that it also says that to connect to it you need to use the command 'zerovpn-node up'.
That's his output:

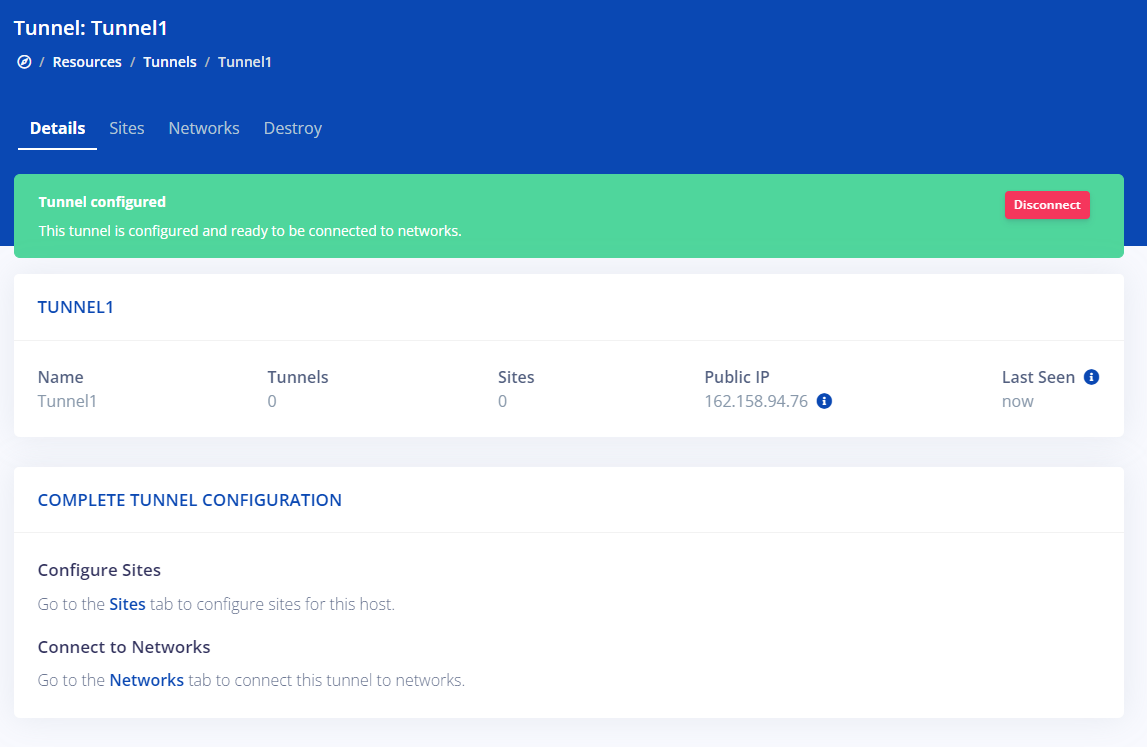
Now, go bac to the Tunnel page on your ZeroVPN space, which should still be on your just created tunnel page, when there just click the blue link at the bottom of the page to reload the page and see the active changes to the new crreated tunnel.

That's how now the updated page will look like:
That's all you need to know on how to manually create a new Linux Tunnel to your ZeroVPN Gateway.