
How to connect a Tunnel to a Network.
You've just created a Tunnel in your ZeroVPN Network and don't know how to connect it to your network?
Follow this guide and learn how!
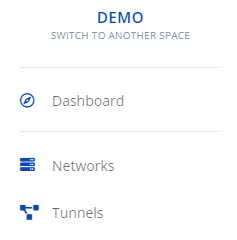
Go to the tunnels page from the menu on the left.
The page will look similar to this, listing all the available tunnels, if you don't have any follow this guide to create your first one.
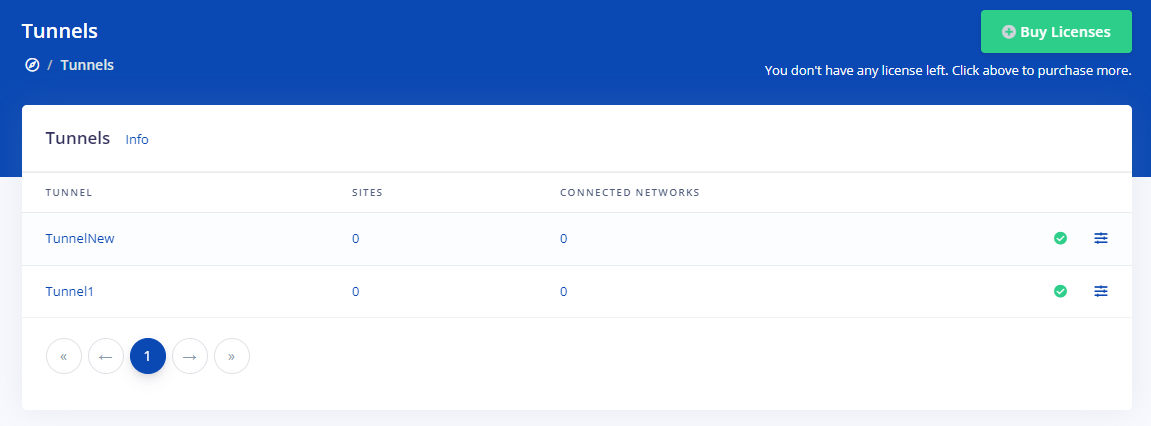
Choose a Tunnel then click on it, in this example i'll choose 'TunnelNew', Here's how it should look:
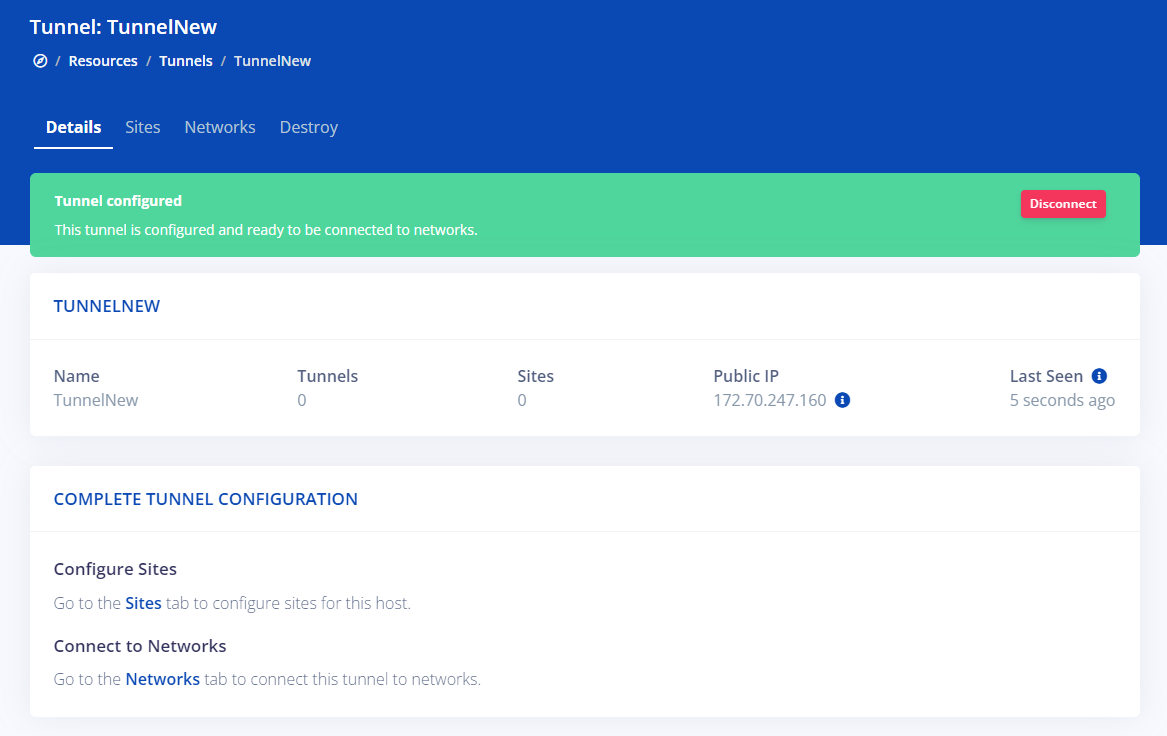
The next step to connect it to a network is to click on Networks in the menu on top

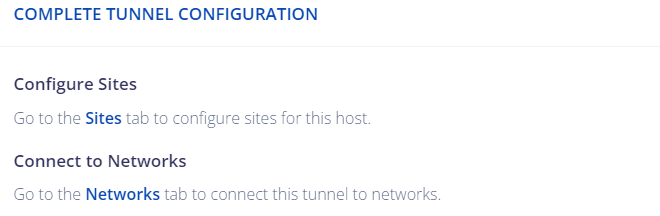
Or by clicking Networks at the end of this 'COMPLETE TUNNEL CONFIGURATION' block.
In both those case this page will open up to us:
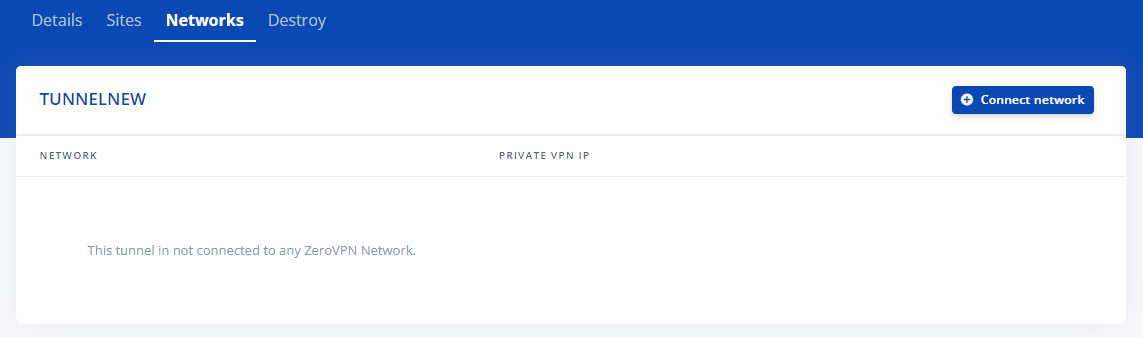
Now we've to click on the blue button 'Connect network'.

Doing this will open up a little list under the button, listing all the possible network to connect to. Choose your desired network.
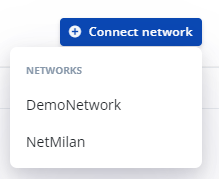
I've chosen 'DemoNetwork', it will load this page:
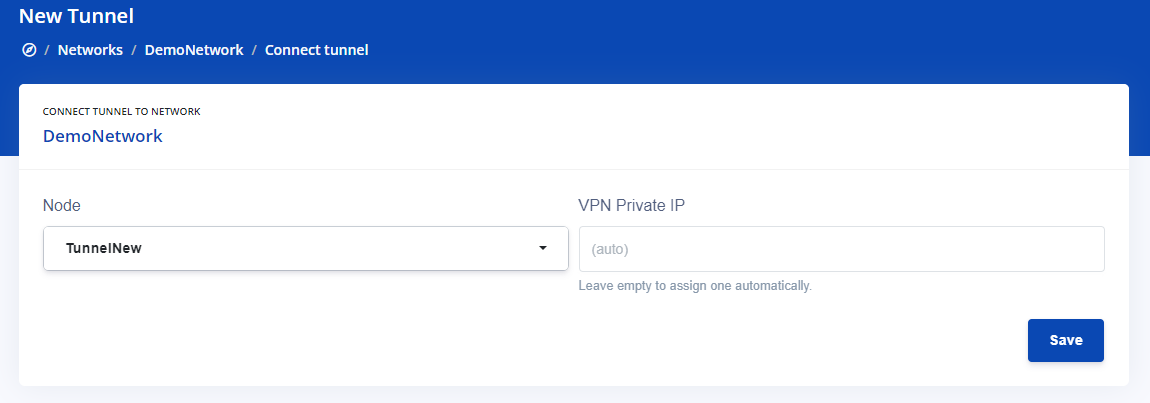
As the node is the one we have selected, we can choose if we want to set a 'VPN Private IP' or to leave the field empty to make ZeroVPN assign one for you automatically.
In this example i'll leave it empty.
Once you're ready, whether or not you have set a VPN Private IP, click on 'Save'.
It will now redirect you to the Tunnel details page.
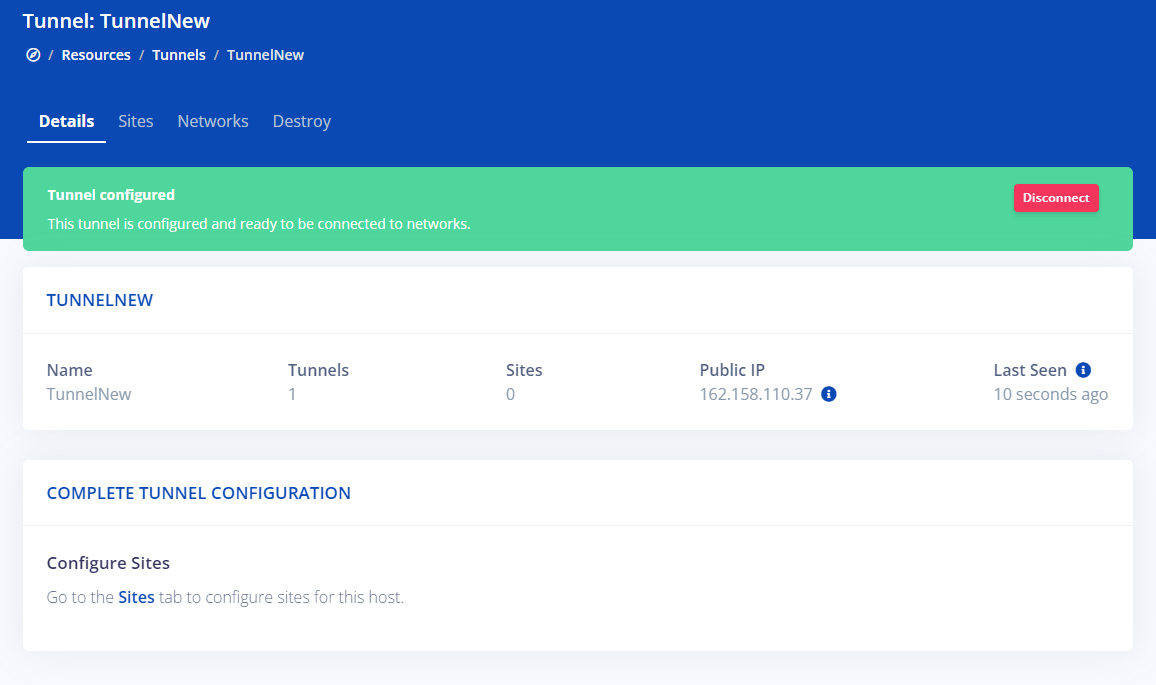
We can notice how now at the bottom of the page the 'Connect to Network' section is now disappeared and if we click on 'Networks' on the menu on top, the page will look like this now:
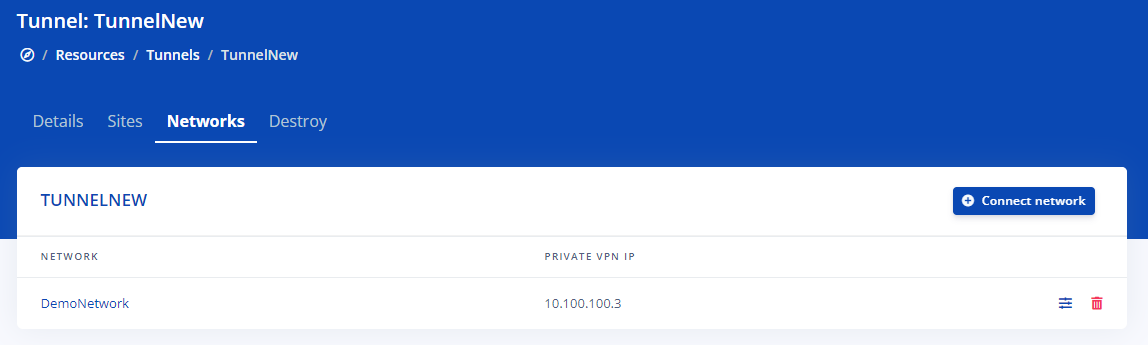
Here it shows how it is now connected to the selected Network!
That was all you needed to know about connecting your Tunnel to your Network.